Pages

Showing posts with label broken chairs. Show all posts

Wednesday, April 4, 2012

Eastlake Chair Overhaul

This gorgeous, and very old Eastlake style arm chair suffered an unfortunate accident when it came loose of it's strappings and fell off of a truck.    It experienced a 'slip and slide'.  Slip off the truck and Slide on the road.   The chair obviously needed some hospital time so it came to us for care.  After doing a thorough evaluation and consultation with the chair's owner, a plan of action was decided upon.   One option was to completely restore it to it's original condition.  This would have required extensive repairs to the entire back section as well as the legs and arms.  This would have been a big job and pretty pricy.  So it was the second option that we are going to complete.

Since the back is so badly broken, both aesthetically and structurally, we removed the back all the way down to the lower rail which was still strong.  The next step was to repair the broken areas just behind the arms where the wood had been broken off by the pavement.  We were able to re-pupose wood from the top rail of the chair (which we removed), to fill in these broken areas.  Once the epoxy glue on that repair was set and dry, the wood could be shaped to match the surrounding area.  You can see this repair in the photo below.
We also needed to replace the wood on one of the legs, which had been completely destroyed by the fall.   To repair this area, we had to use a new piece of walnut, rather than a re-purposed piece, as it was quite a big chunk that was missing.    For the leg repair,  we again epoxied on the new wood, and clamped it into place.  Once it is set and dried we will shape the piece of wood to match the other back leg.  You can see this repair in the picture below.
 We still have a lot of work to do on this chair.  Hopefully when it is done it will look just as beautiful as it did originally.  Although now it will have a new adventure attached to it's history.   The time it went for a slip and slide and ended up which a whole new look.

Friday, July 15, 2011

Rocking Chair with Carved Back Panel


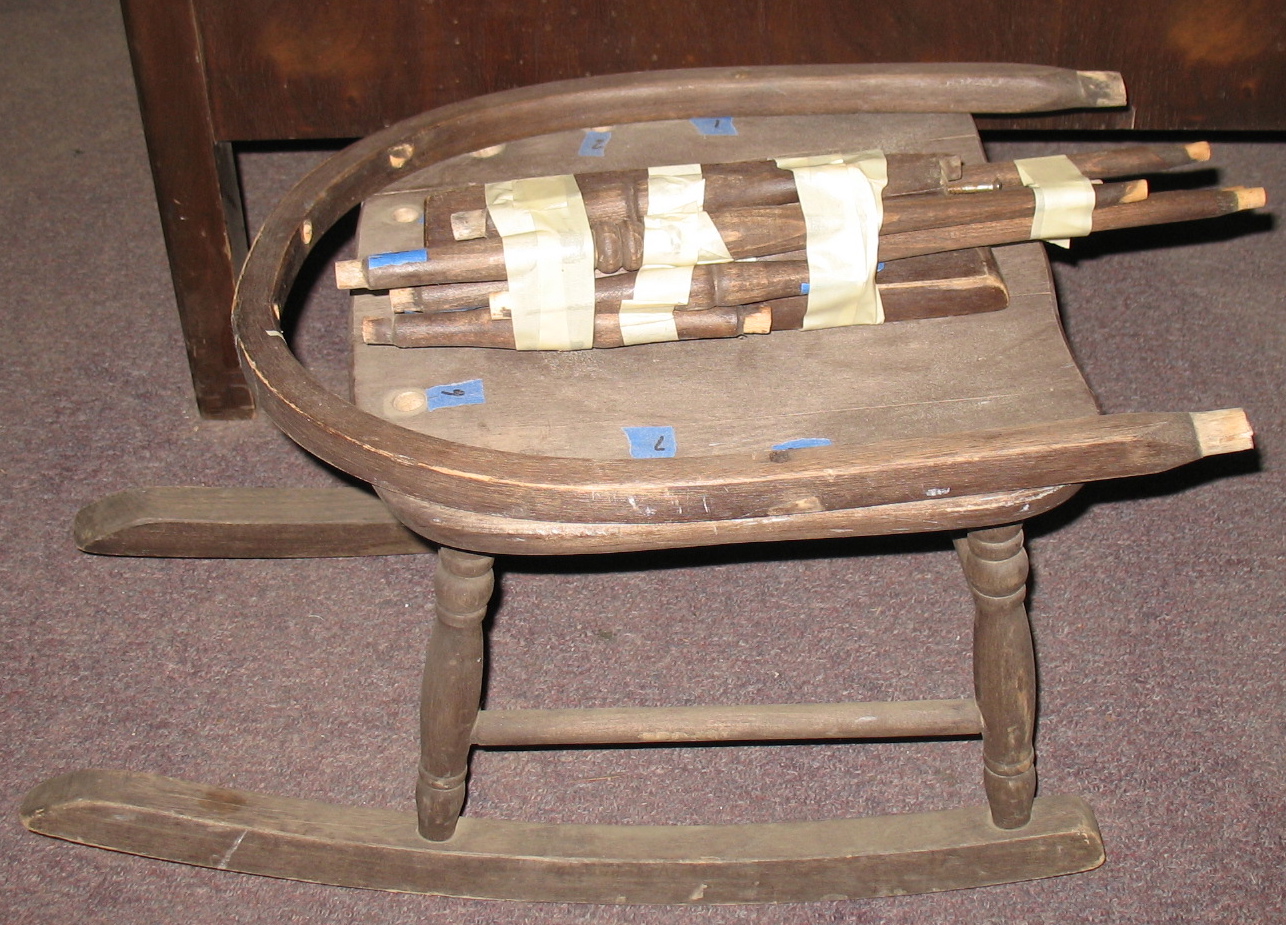
 We recently had this rocking chair come in to our shop for repairs.  One of the stretchers had broken which in turn caused the one of the rockers to break off as well.  While this kind of thing happens fairly often, and we get broken rocking chairs in all the time,  this particular rocker has such interesting styling, that I became very curious about it's origins.  Now, you all get to see what information I have found out about this piece.


The first thing to note, is that there is a very unique sticker on the underside of the seat.  Most antique furniture has no markings by the maker, they simply relied on us recognizing their unique style.  But this chair gives us a very good clue to it's age and maker via the sticker.  You see, around the beginning of the 1900's through the 1940's  Grand Rapids Michigan had a furniture making Heyday.  So the sticker on this Rocking Chair tells us that the chair was made in the early part of the last century.


What really drew me to this rocker originally, was the carving on the back.  I had never seen something like it until this Rocking Chair came in.  The figure on the back seems to be a Spanish Explorer,  and from comparing images,  it is most likely Cortez or Ponce de Leon.  The seat is also round with little notches carved out giving in a drum like look.  In trying to get a better idea of the age of this chair, I found several similar chairs, each with an oval or square carved back and almost all with a round seat and all being given an age at about 1900.  This one seems to have the most intricate carving on the  spindles, stretchers and legs though.  Below are some examples of the other chairs I found. 


Pretty neat right?  I would love to find more designs from the era, but to be honest, I have to say, the carving on the rocker in our shop is still my favorite.

If anyone can tell me anything about the armor that is demonstrated in the carving on the rocker in our shop, I would love to hear about it!  While the helmet looks like Cortez,  the square collar is unlike anything I have been able to find thus far.

Wednesday, April 13, 2011

Repair Gone Very Wrong!!

 We often see furniture brought to our shop that at some point in the past, had repairs done elsewhere.  Sometimes it was 50 years ago and it is just now needing more work,  but all to often it is a recent 'repair' that someone did, that just didn't do the job right.

This is what happened with this particular chair.   The problem this chair had initially was that the wood of the entire chair shrunk, but not the wood of the seat.  So all the seams holding the seat up were separating.   The chair should have been taken apart, glued back together so that it would be tight and sturdy, then the seat re-attached.  But instead, whomever tried to fix this chair did so by adding pieces of wood all over the place,  putting in nails and screws of all sizes and they even used some 'L' brackets to try and achieve stability!  This poor chair was a mess!   I have taken a picture of all the extra things that were added to try and make this chair stable,  It looks like they used half the hardware store!

Now this chair is going to need even more fixing than it would have before.  We will need to fill all those holes made by screws and nails,  Touchup all the holes to make them 'disappear' and then do the repairs that should have happened in the first place.

I write this post as a word of caution to you all.   There is a right way and a wrong way to fix your furniture,  if you don't know which is which,  don't try fixing it yourself!   Have a professional do it,  or at least bring it to us, so we can explain how it should be done.  You will save yourself quite the headache in the long run!

Wednesday, March 23, 2011

Broken Chair Magic Act!

We get all kinds of breaks to fix here at the shop, and we do a great job of repairing them.  Our fixes are solid, clean, and last a long time.  This chair had it's top corner broken off and you can see the repair we did in the top picture.  The problem with repairs, is that they never go back together in such a way that they become invisible. The glue takes up some space, and there are often minuscule voids on the edge of the broken wood section.  So it is up to the customer to decide if it is enough just to repair the damage, or if they also want us to perform touch up work, to make the area less visible.  The owner of this chair, decided that they wanted to pay the extra cost, and have us do a little chair magic.
You can see in the second picture that we sanded the area smooth to eliminate the small bumps that the broken sections made. We were then left with a small area right on the top and most visible part of the chair, that not only had two 'fault lines' but was  missing color!  Fortunately we have a master in this kind of touch up work.  He not only blended the fill color perfectly, but he made those cracks almost invisible.      Believe it or not, that third picture is of the chair after we did the color touch up!  Pretty good right? Would you guess that the chair had been broken?  Now I do have to tell you, that if you were the one who had brought this chair in,  you would still be able to look closely and find the damage, because you know where to look.  But for any guest of yours, who sat in this chair, they would have no idea it had ever been into our shop.  And that is a job well done!

Monday, February 21, 2011

The Runaway Arm Chair

 Imagine the horrible feeling you would get from watching through your rear view mirror as your dining room ArmChair tumbles out the back of your truck, does a few somersaults down the road and then comes to a stop with the arm broken off, the joints loosened and a considerable amount of road rash decorating it's edges.  That is exactly what the owner of this chair went through not to long ago.

Fortunately for him, found our shop and brought the chair in for repair.
"Road Rash" like this was visible along the edges of the entire chair.

With each joint we took apart to re-glue, we found more that were loose.  So almost the entire base of the chair was re-glued.  The broken arm was repaired and the extensive damage to the finish was fixed.  To do this, we filled all the recesses with an epoxy filler,  sanded all the abrasions smooth and then colored it to blend.  We had to do the color work by hand because the wood grain had to be painted in, and any distressing present in the original finish work had to be replicated.

The chair came out very well.  The chair's owner came and picked it up today as was delighted with it's fresh appearance.  We love having happy customers walk out our doors!

Thursday, January 27, 2011

Superheroes Rescued by Super Craftsmen!

We have had a rash of small, child sized rocking chairs come in lately, each with their own unique needs.  This one is made in a classic spindle and bentwood back design. It was getting on in years and the glue was weakening.  Then some little boys played superhero on the rocker and all the weak glued joints came loose, a seam in the seat came apart, and the bentwood back cracked. So then it was, Craftsmen To The Rescue! 

Since the young superheroes didn't have very deep pockets, we needed to fix the rocker as economically as possible.  We fixed the split in the seat, we re-glued all the spindles and repaired the damaged bentwood back.  We would have liked to strip the chair and soak the bentwood back. Then we could have properly repaired and re -shaped it. But instead we just re-glued it and left the shape pretty much how it was when it came in.

So this little chair has been put back together, rescued from the accidentally overwhelming might of the young caped crusaders, and ready for any damsels in distress to pine away in it.

Hopefully someday we will be able to complete the job and make the finish shine like the Silver Surfer.

Thursday, January 20, 2011

Humpty Dumpty Broken Chair Leg

 Someone  certainly took the time to customize the appearance of this chair to their liking!  I think it is great when people are able to express their individual style through their furniture. Unfortunately for them, someone also got a little vigorous with one of the front legs and it broke off into 5 pieces!
It required multiple clamps and quite a bit of carefully done epoxy to put it all back together.  This chair leg wasn't quite as bad as humpty dumpty, but it was close.  As you can see there are still pieces of wood missing even after the ones we had been given were glued back into place.


 Here you can see the finished result of the glue job we did.  As you can see, the voids where wood is missing, have not been filled, and the pale colored break line is still visible.  The owner of this chair decided that it's being sturdy was important, but that it looking brand new, wasn't essential right now. And that is just fine.  We can do as much of a job, or as little of            a job as the customer wants.


The work is done.  You can barely see that there is a break on the left leg, even with no touchup!  The repaired chair leg is so sturdy, it is prepared to withstand many more years, and many more decor choices  .

Thursday, December 16, 2010

Block Work on Broken Chair Legs


Well, besides all our weaving and staining, and wood stripping that is going on today, here is another one of our smaller projects that we are working on at the shop.  This chair has a broken front leg.  The entire leg isn't broken off, just the decorative piece at the end.  It has broken in half, it seems, right along the wood grain.  We have epoxied a block of wood onto the chair, and once it is fully hardened, we will carve it to match the other leg which is still in tact.


We have to do this kind of block work fairly often actually.   Here you can see another leg, this one broken much higher up (you can actually see the seam in the left hand picture).  We cut out a section on the back of the leg, glued the break, and glued in a block.  The block will be formed to fit the leg, and then stained to disappear!

Wednesday, December 15, 2010

Little Maple Chair that Split it's Seams


We have been working on some very big projects lately which unfortunately means some of the little projects have been waiting.  But the big projects got done earlier this week and now we get to move on to smaller things.   This chair is certainly small in stature, but I suppose the project isn't so small after all.  The problem with this poor little chair is that it is made out of Maple.  Maple furniture from the 1950s and 1960s, known as "American Colonial" or "Early American" had a fatal flaw. You see, Maple  shrinks significantly when dried and the seams and joints on pieces made in this era were very inadequately glued as well.  The job of a finish in to protect the wood, so when we stripped the finish off of this chair,  the wood then had a chance to 'adjust' to the dry California air, and all the seams opened up.   We have epoxied the seams back together, now this little chair is ready for a Prep Sanding, and then a nice new protective finish.

Wednesday, October 6, 2010

Many Hands, Many Projects

What a busy day we have had here at the shop. Business seems to be picking up again which makes me very happy. I love hearing all the sounds of work going on, and seeing so many projects progressing.
Today our furniture weaver is working on creating a new splint seat for a very old chair. The original chair was made of hand cut wood splint and each piece was a different width. It seems the original weaver wasn't very good at measuring and wove the seat with whatever size pieces they happened to make. We are trying to re-create that look, and to do that, we are using 4 different widths of pre-cut splint. I'll let you know how it turns out.

Our repair man just got started on a brand new project today, which will probably take some time to complete. This very pretty set of 4 chairs came in needing a lot of repair, and then a restoration job. Today they are being dis-assembled so that we can start the extensive repairs.


We are so happy to be able to bring on a new Craftsman! We are able to once again have an worker completely devoted to 'prep work'. This is all the things that happen after a piece of furniture is stripped that go into getting it ready for finishing. He is doing a terrific job. Today he is sanding a table to get it ready for finishing. This table has a very unique leg design, I will be sure to show you once it is all done.

Some time ago we got in a very interesting project, of customizing the dashboards for two Bentlys. Our Master Craftsman was having a hard time getting to the project because he was trying to do his own job plus complete the work of 2 emloyees. Now that we have been able to take on more staff, we have are able to give this project the attention that it deserves. The dashboards are coming along very well, and I will be sure to show you the finished work!

Do you have a project for us to work on? Something you have been wishing to get done but keep forgetting? Or maybe you started a project and found out it was much bigger then you thought it would be? Bring it to us!

Tuesday, September 21, 2010

Epoxied Chair Seat

This cute country style kitchen chair was cracking along every seam, and also within each piece of wood! It certainly wasn't safe for sitting on in that condition. So as part of our restoration process we filled all the seams and cracks with epoxy. It looks pretty messy right now, but after we sand and prep the chair, all that glue residue will disappear and will only remain in the cracks and seams. Epoxy is an incredibly strong glue so this chair seat shouldn't come apart, or even wiggle for many years to come.