

This unfortunate Armoire received quite a bit of water damage during storage. It had been disassembled and stacked and then put in the garage. The water damage cause the veneer which covers the piece to crack, peel and flake.
Fortunately, we have a Restoration Specialist here at the shop who is very good with a veneer saw. For the inside of the doors we pieced in Birds Eye Maple veneer to replace the damaged sections. Although the patches are considerably lighter right now, once we are done with them, all the wood will blend.
On the outside of the doors a Walnut veneer was used. So we found a matching Straight Grained Walnut which had to be cut at an angle to blend with the old wood. This is very tricky work, and our Restoration Specialist has done an excellent job.
There are patches of veneer which we have had to replace all over these doors, and both sides of the Armoire. Once all the patches are securely in place, we will strip the whole thing, and give it a beautiful new finish. I am looking forward to showing you more pictures of this project!

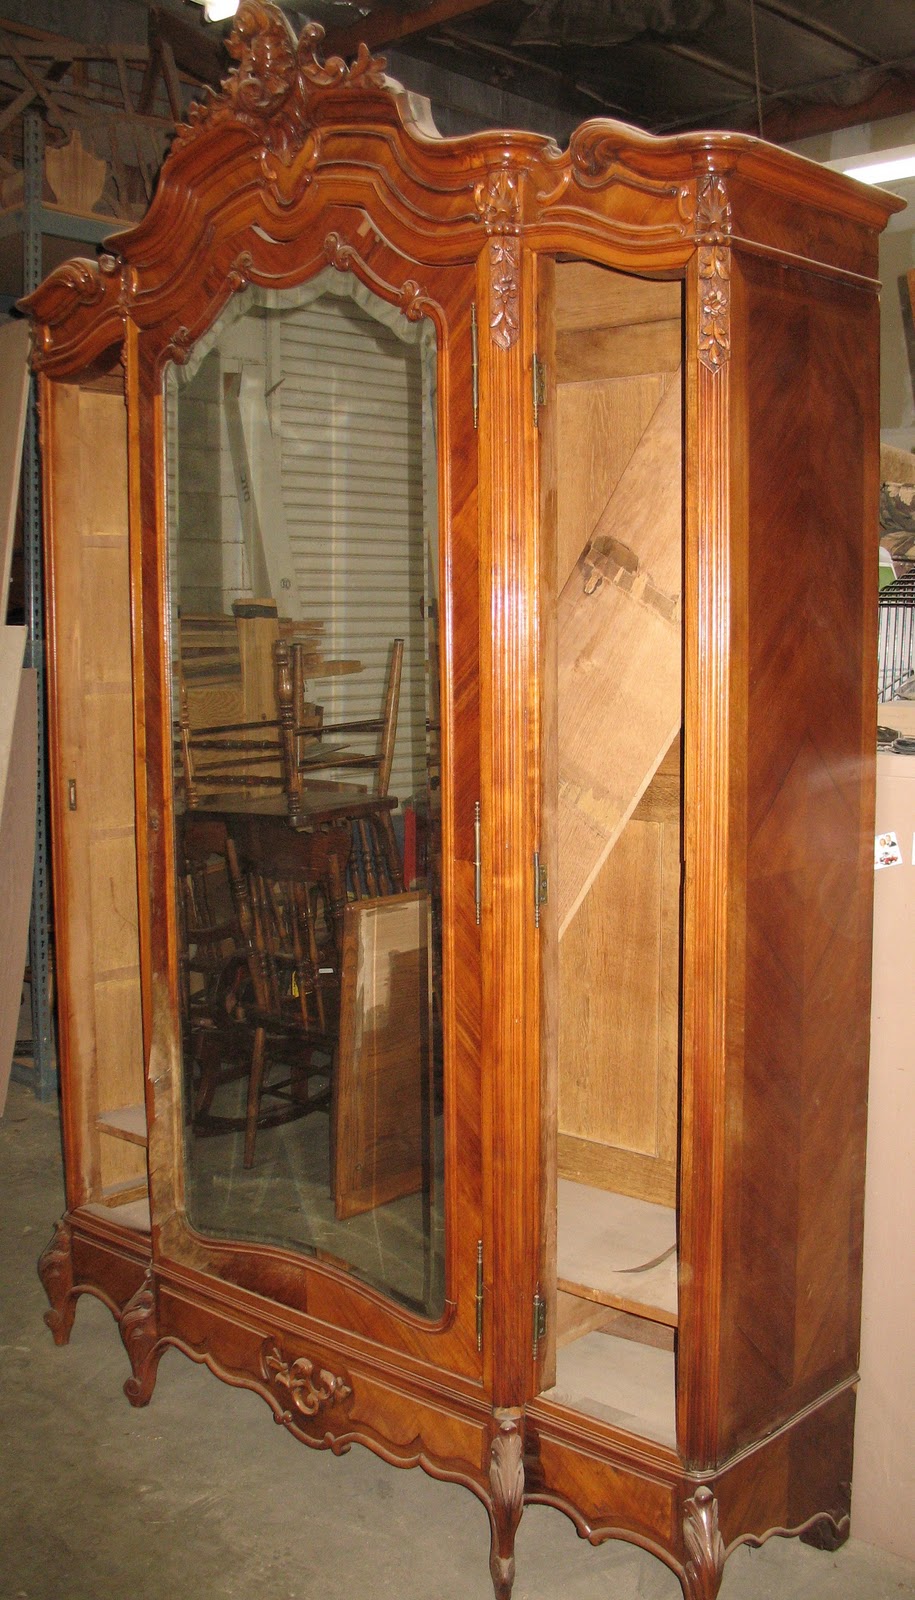 This unfortunate Armoire received quite a bit of water damage during storage. It had been disassembled and stacked and then put in the garage. The water damage cause the veneer which covers the piece to crack, peel and flake.


 Now we have the work just about completed. In the photo to the left you can see the leg after it was stained then scuff sanded. The scuff sanding step is crucial to a smooth finish. We use a very fine sand paper, 320 grit, to knock off any burrs in the stain, and polish it to perfect smoothness.
  The final step, which we just completed, was to to apply two coats of sealer, then two coats of 'top coat' to create a beautiful Satin finish. The stain we used was an English Oak. What do you think? looks pretty good doesn't it? Would you assume it had ever been broken?

