
Can you guess how many pieces this High Chair is currently in? I give you a hint.... it's a lot! Sometimes we get items in where every bit of glue has failed. This means all the seams in the seat come apart and all the joints, whether doweled or tenoned or something fancier, come apart. When this happens, we have to carefully tag each piece so that it isn't a puzzle trying to get it back together.
There are many reasons for glue to fail. If the furniture was originally put together with Hide Glue, then a change in temperature or moisture in the air, could cause the glue to fail. Hide Glue is very strong, as long as it is kept in normal indoor conditions. But it is activated at high heats so if you leave the chair on the porch in the summer, the glue can be activated and then while the joint is soft (and not clamped) it can become loose and fall apart.

Other joints fail because a bad or experimental glue was used. In the early 1900's a Lignin glue was used and it has a very high fail rate. We get furniture in fairly often that originally had this kind of glue used. Joints can also fail because not enough glue was used to penetrate the surrounding wood fibers. If the chair has had a prior repair attempt, sometimes an in-experienced repairman will not clean the old glue off before applying new. The glue then just bonds with the old (already failed) glue, instead of to the actual wood.
Diagnosing why a joint failed can almost seem like diagnosing a medical condition. It really does help to know the furniture's history. But regardless of why the joint failed in the first place, a skilled, experienced repair specialist can put the furniture back together, regardless of how many pieces it is in. The new bonds they create between the pieces should last well into the future. When you go into a shop to get your furniture worked on, be sure to ask lots of questions so that you know what your glue options are, what each glue's risks are, and get a good sense that they know what they are doing!


 Can you guess how many pieces this High Chair is currently in? I give you a hint.... it's a lot! Sometimes we get items in where every bit of glue has failed. This means all the seams in the seat come apart and all the joints, whether doweled or tenoned or something fancier, come apart. When this happens, we have to carefully tag each piece so that it isn't a puzzle trying to get it back together.


 This elegant trestle table came in with several breaks on the trestle stretchers which not only were unsightly, but made the table much more weak and unstable.

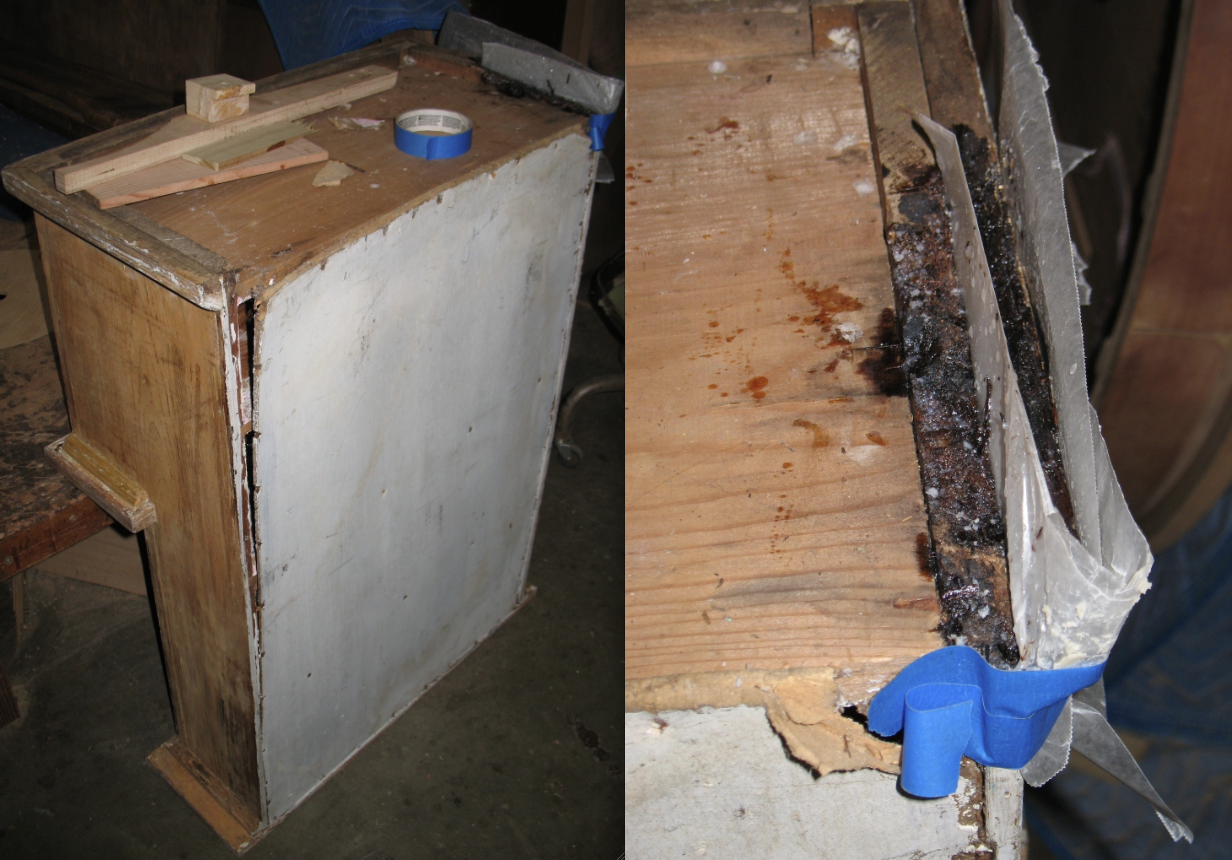
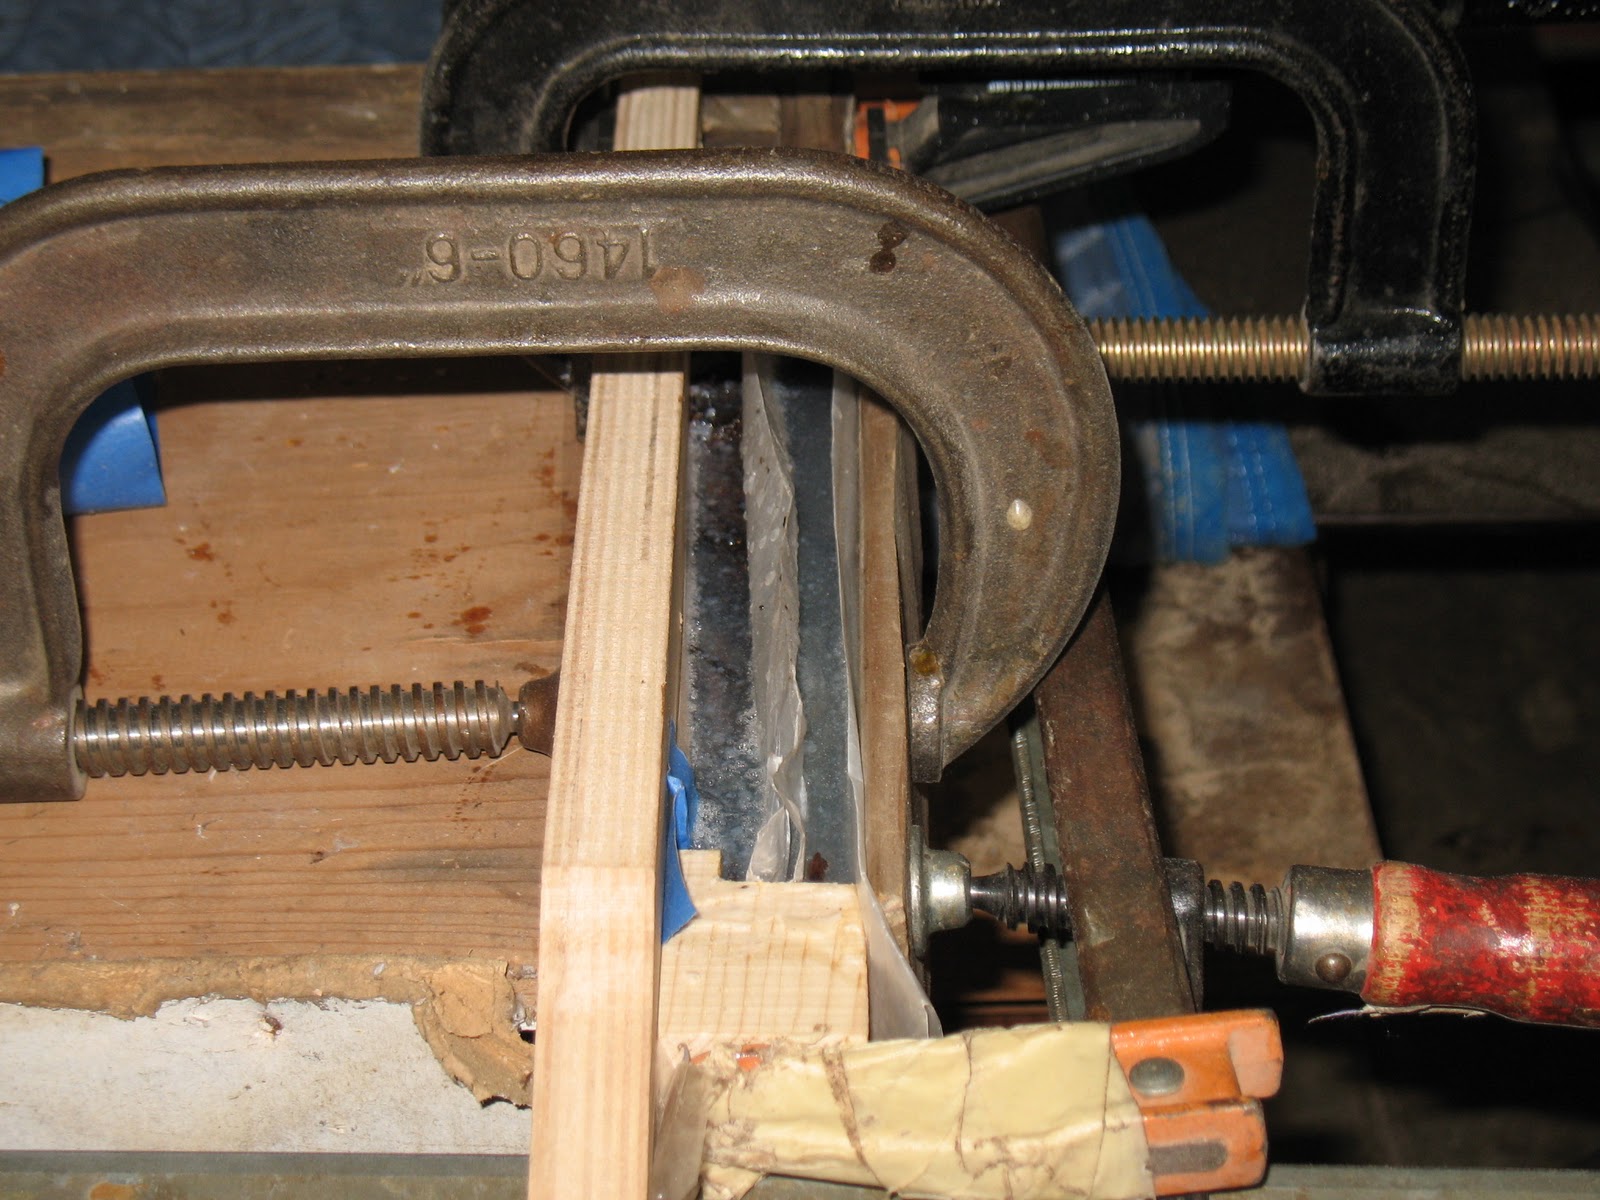 After the wood had soaked up all the epoxy it could, we created a form out of waxed paper, wood scraps and clamps. We then filled the form with even more epoxy, to make a new base, where the old wood had rotted and was gone.


 Here you can see the finished result of the glue job we did. As you can see, the voids where wood is missing, have not been filled, and the pale colored break line is still visible. The owner of this chair decided that it's being sturdy was important, but that it looking brand new, wasn't essential right now. And that is just fine. We can do as much of a job, or as little of a job as the customer wants.

 We have to do this kind of block work fairly often actually. Here you can see another leg, this one broken much higher up (you can actually see the seam in the left hand picture). We cut out a section on the back of the leg, glued the break, and glued in a block. The block will be formed to fit the leg, and then stained to disappear!


 This cute country style kitchen chair was cracking along every seam, and also within each piece of wood! It certainly wasn't safe for sitting on in that condition. So as part of our restoration process we filled all the seams and cracks with epoxy. It looks pretty messy right now, but after we sand and prep the chair, all that glue residue will disappear and will only remain in the cracks and seams. Epoxy is an incredibly strong glue so this chair seat shouldn't come apart, or even wiggle for many years to come.

